So you've started your microgreen journey! Tiny greens are emerging, transforming your countertop into a miniature garden. But wait - what's that fuzzy white stuff at the base of your plants? Is it a sign of success (root hairs) or a cause for concern (mold)? Breathe easy, this blog post will equip you to identify these elements with confidence.
Root Hairs: Essential for Nutrient Uptake
Root hairs are the feathery extensions that sprout from the roots of your microgreens. These diligent workers play a crucial role in their growth and development. Here's why they deserve a high five:
- Increased Surface Area: Root hairs significantly magnify the surface area available for water and nutrient absorption. This ensures your microgreens receive the essential nourishment they need to thrive.
- Enhanced Stability: The intricate network of root hairs helps anchor your microgreens to the growing medium, providing crucial stability and preventing them from toppling over.
- Natural Occurrence: Root hairs are a normal and healthy part of any plant's root system, including microgreens.
Identifying Root Hairs:
Root hairs are not only beneficial but are easy to recognize with a closer look.-
- Appearance: Root hairs are usually white or light brown and have a fine, delicate fuzziness.
- Location: They grow directly from the roots, creating a fuzzy halo around the base of each plant.
- Touch Test: If you gently touch the fuzz, root hairs will feel soft and feathery—different from the slimy or sticky texture mold may have.
Now that we understand what root hairs look like, let’s explore the signs of mold in your microgreen tray.
Mold: The Unwelcome Guest in Your Microgreen Garden
While root hairs are your allies, mold is an unwelcome guest in your microgreen tray. It can hinder growth, damage your microgreens, and even pose health risks. Here's how to identify and address mold:
- Appearance: Mold can appear in various colors, including white, gray, green, or black. It often has a fuzzy or web-like texture.
- Location: Mold can grow on any surface in the tray, including seeds, soil, and even the seedlings themselves. Unlike root hairs, it doesn't radiate out from the base of the plant.
- Smell Test: Mold often has a musty or earthy odor, while healthy microgreens have a fresh and pleasant smell.
Tips to Prevent Mold Growth:
To avoid mold taking over your microgreens, here are some preventive measures:
-
Maintain Proper Moisture Levels:
Excess moisture is a breeding ground for mold. Aim to keep humidity in your growing area between 40-60%. If you live in a high-humidity environment, using a dehumidifier can help maintain an ideal moisture level. -
Optimize Air Circulation:
Mold thrives in stagnant air. Increase airflow by setting up fans or using trays with ventilation holes. Good airflow prevents mold and promotes stronger microgreen growth. -
Sanitize Equipment Regularly:
Thorough cleaning of your trays and tools between plantings is essential. To sanitize, scrub your trays with mild soap, rinse, and spray with a diluted hydrogen peroxide solution (1 part 35% food-grade hydrogen peroxide to 11 parts water). This step reduces the risk of mold significantly. -
Select High-Quality Seeds:
Organic, untreated seeds are generally less susceptible to mold spores. Additionally, consider pre-soaking seeds in water with a few drops of hydrogen peroxide to eliminate potential pathogens. -
Use a Clean Growing Medium:
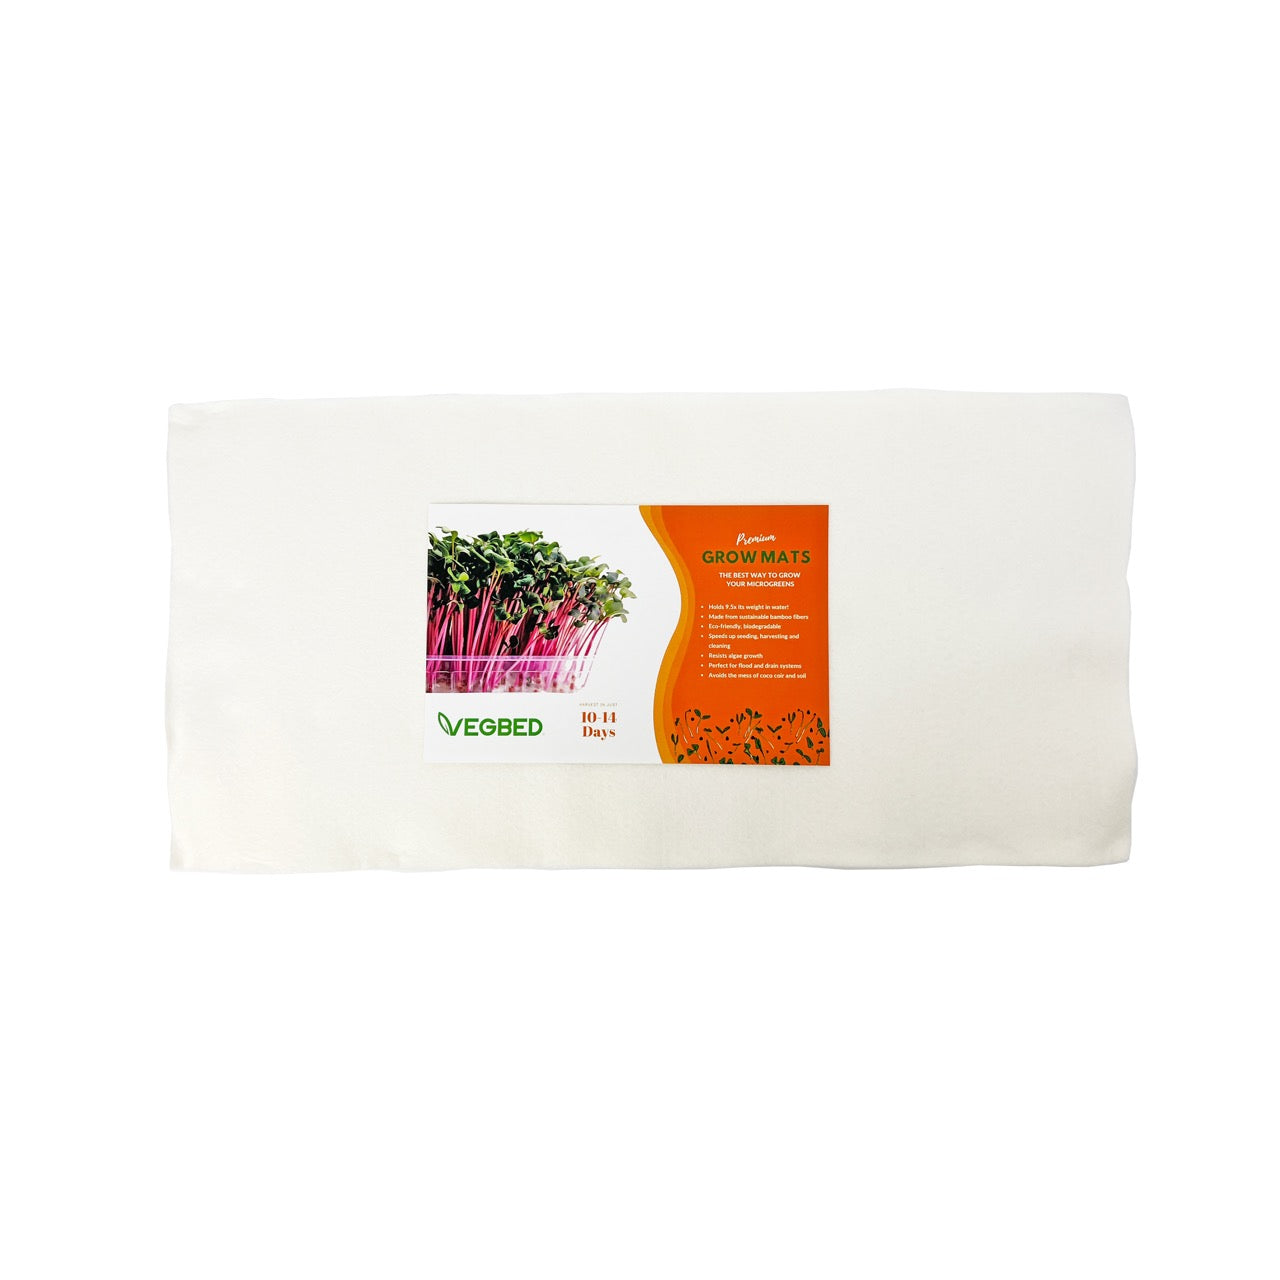
Whether you choose soil or a sustainable mat like a Vegbed mat, ensure your growing medium is clean. Vegbed mats are ideal for microgreens, as they are designed to be mold-resistant and require minimal maintenance.
Dealing with Mold in Microgreens: When to Salvage and When to Discard
It’s not uncommon for growers to encounter mold, particularly if humidity or airflow isn't optimal. Here’s what to do if you spot mold in your tray:
Identifying Mold Early:
Regularly inspect your trays for any signs of mold, typically white, gray, or green patches that appear fuzzy or slimy.
Deciding to Salvage or Discard:
Sometimes, a tray with minor mold can be salvaged, but be cautious. Mold spores spread easily and could already be embedded in the entire tray. If the mold covers a significant area, it’s usually safer to discard the affected tray to prevent cross-contamination.
Treating Light Mold:
For light mold, you can spray the affected area with a 3% hydrogen peroxide solution. Grapeseed oil can also be used as a natural fungicide, though results may vary. Remember, even after treating mold, it’s essential to improve airflow and humidity levels to prevent regrowth.
Prevention Is the Best Cure:
Preventing mold is more effective than treating it. Prioritize ventilation, monitor humidity, and avoid overwatering to create an environment where mold is less likely to thrive.
When Mold Strikes: Starting Fresh with New Microgreen Practices
If you encounter mold and need to discard your tray, view it as a learning opportunity to improve your setup:
-
Sanitize All Equipment:
After removing moldy trays, clean and disinfect your growing space and trays thoroughly. This step prevents mold spores from affecting your next crop. -
Adjust Growing Conditions:
Consider adding a small fan to enhance airflow, or lowering humidity if possible. These changes create conditions that favor microgreens and discourage mold. -
Experiment with a New Growing Medium:
Soil can harbor mold spores; if you’re using it, ensure it’s sterile. Alternatively, try a growing mat like Vegbed, which is mold-resistant and ideal for microgreens.
Conclusion: Knowledge is Power!
By understanding the difference between root hairs and mold, you can confidently navigate the exciting world of microgreen cultivation. Remember, root hairs are a sign of healthy growth, while mold requires swift action. With proper care and these helpful tips, your microgreen adventure is sure to be a success story!
Happy Growing!


